Building an Arcade Cabinet Part 2 - The cabinet
Now that I got my design it is time to built the cabinet itself. I am not a good woodworker, I just document my journey here so please keep that in mind. If you're serious about building an arcade cabinet I'd suggest you read and watch many tutorial like this, everyone does it a little bit different.


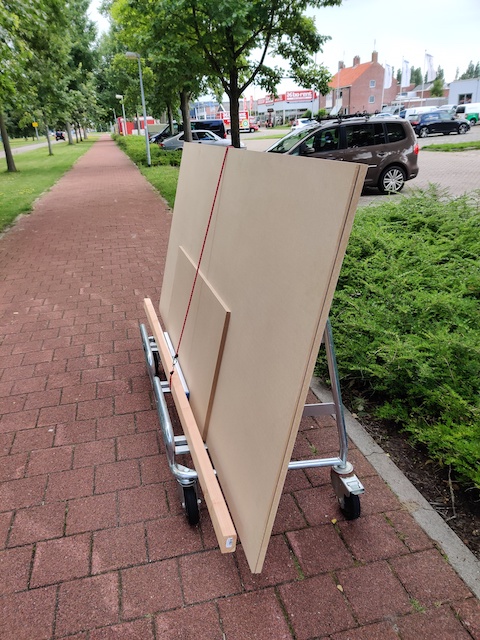
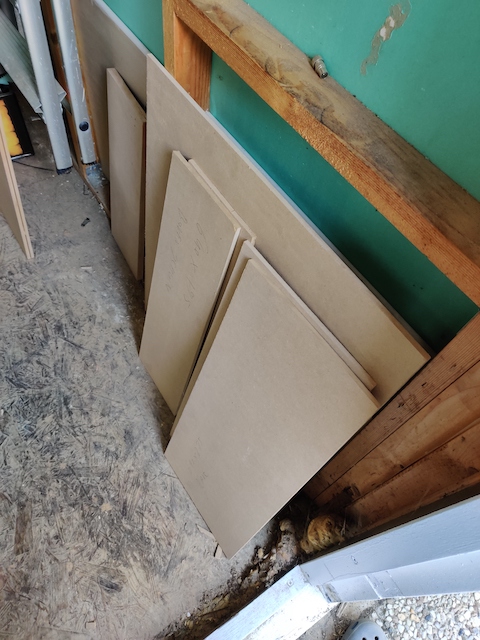
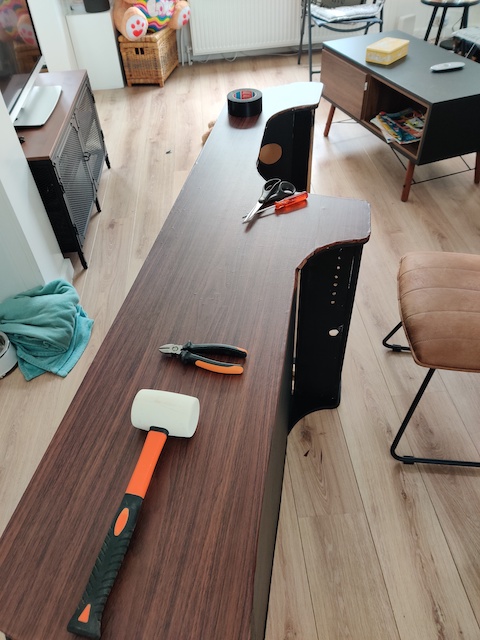
I bought a few sheets of MDF at 18mm and 8mm thicknesses
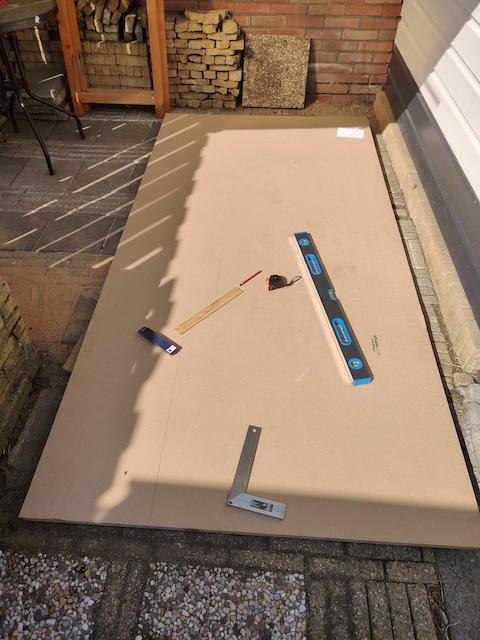
I started off with a single side panel, I did not have a proper workbench so I had the sheet of MDF on the ground. First I marked the outline of the side panel.
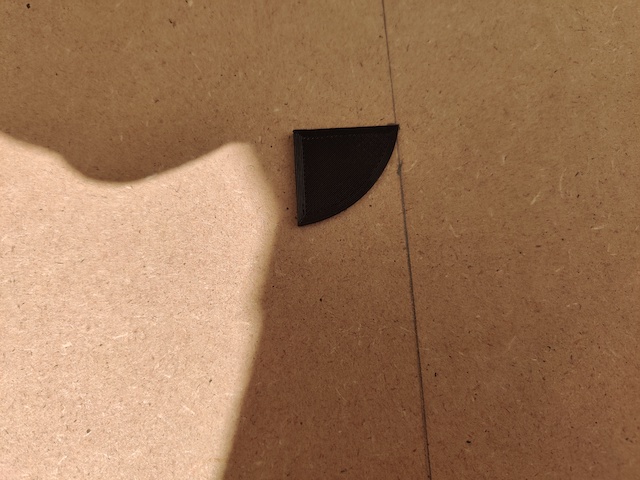
I had some trouble with getting the angles right so I 3D printed a few pieces to help me with that.
Then it was time to cut the sidepanels!
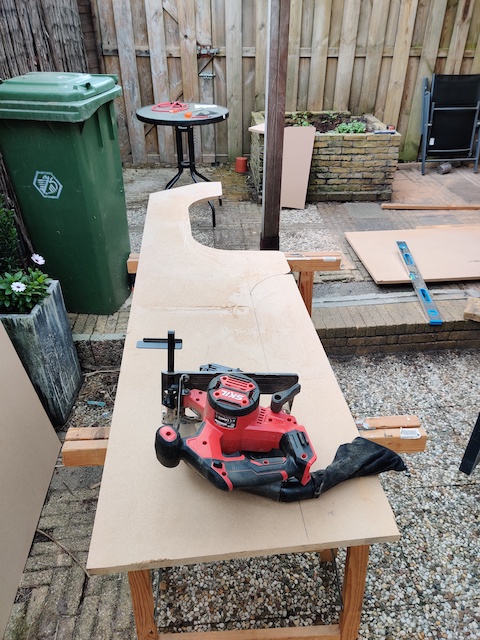
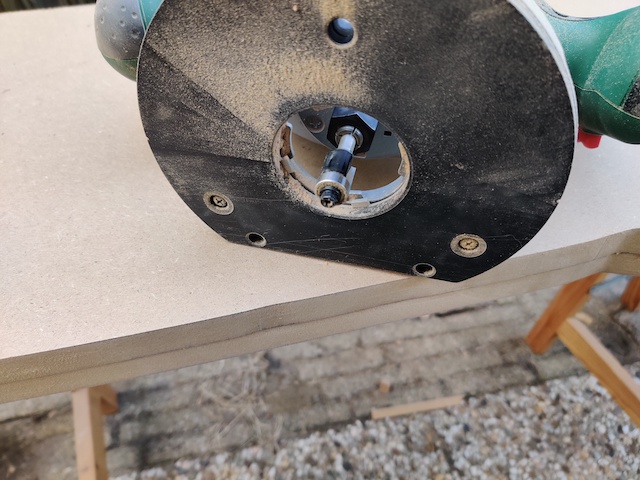
 After cutting the two side I used a router to get them equal.
I used my design to measure and cut a lot of the panels
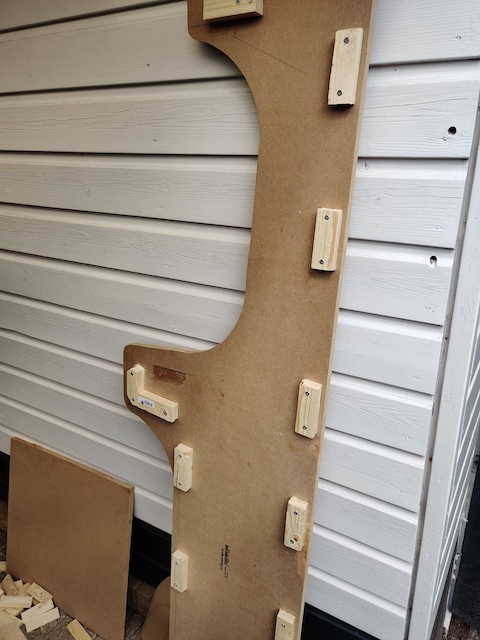
Next I added wooden blocks to the side panel for where the connecting plates should mount
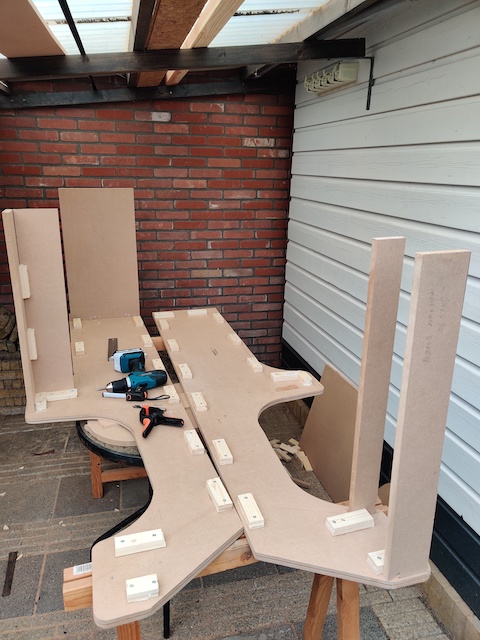
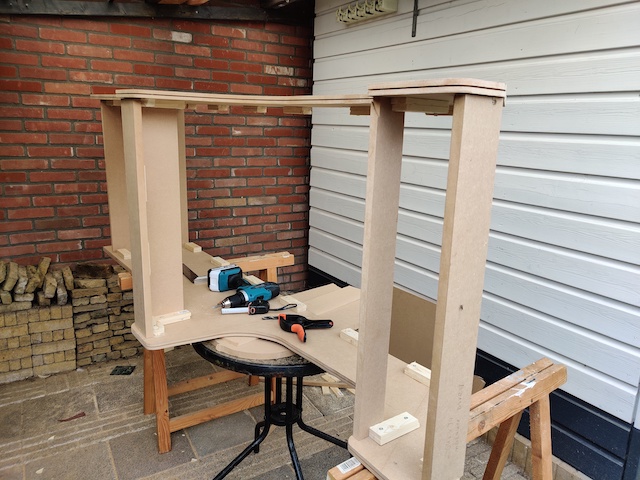
Then I started assembling the cabinet
I wanted to be able to easily access the underside of the control panel so I decided to use hinges like these:
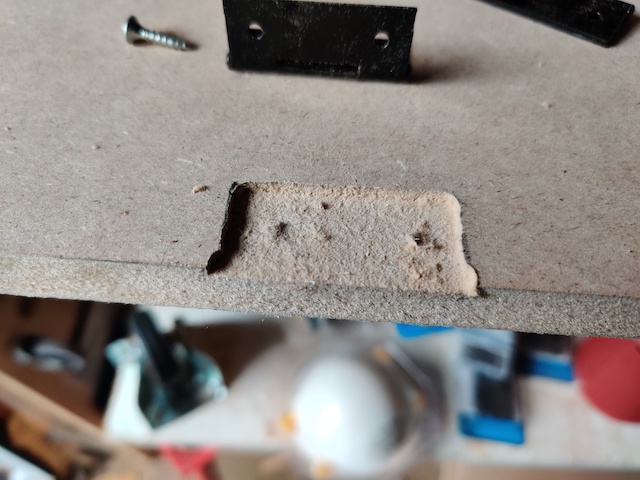
But as you can see there is quite a bit of space so I routed out a little part for the hinge
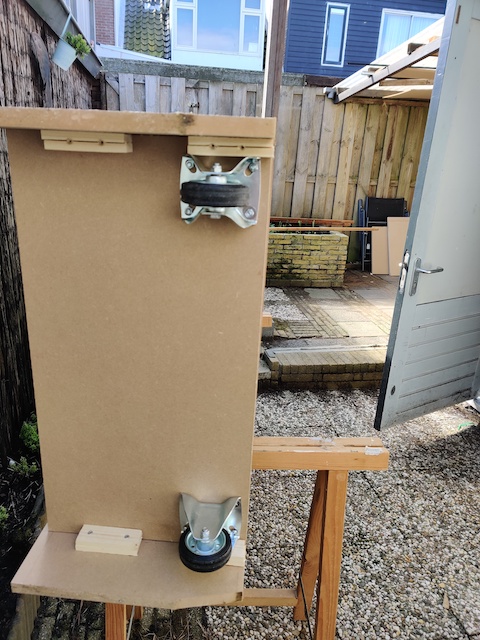
To be able to move the cabinet easily I mounted two wheels on the underside
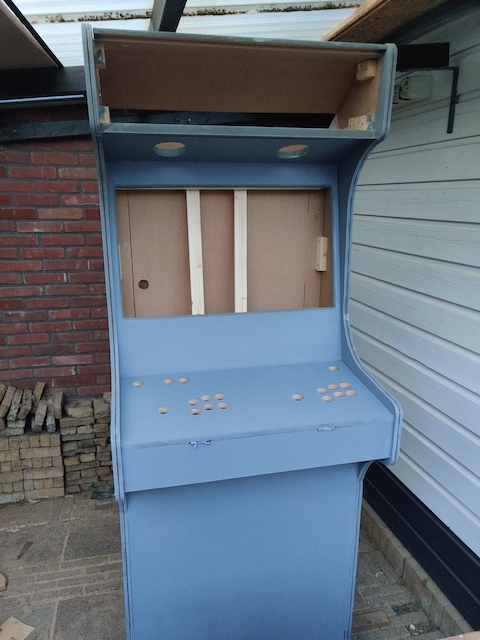
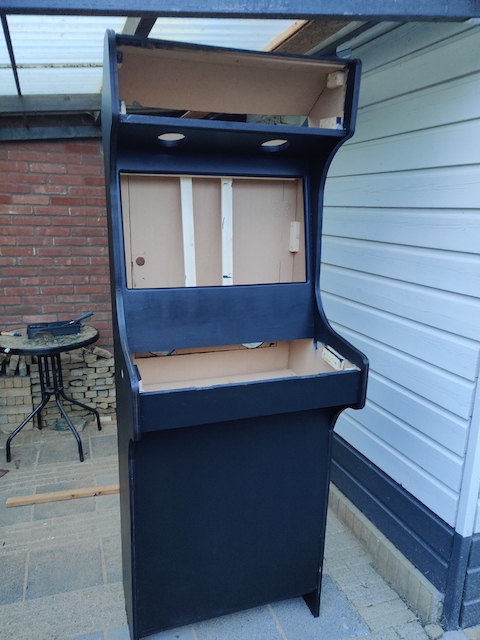
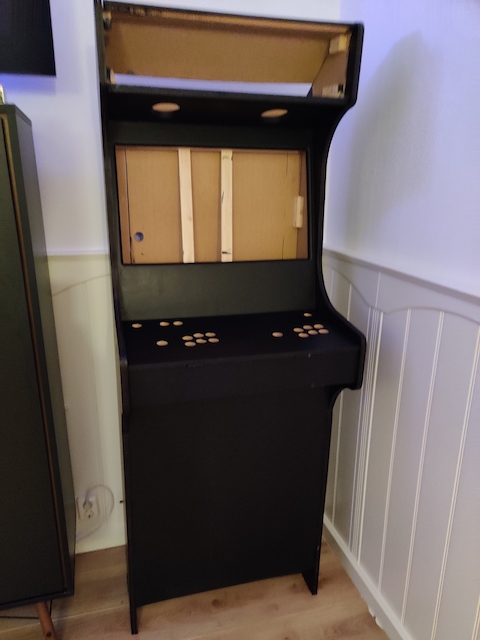
At this point all the panels were mounted and most holes were cut so it was time for painting. I did two layers of primer and two layers of black matte paint.
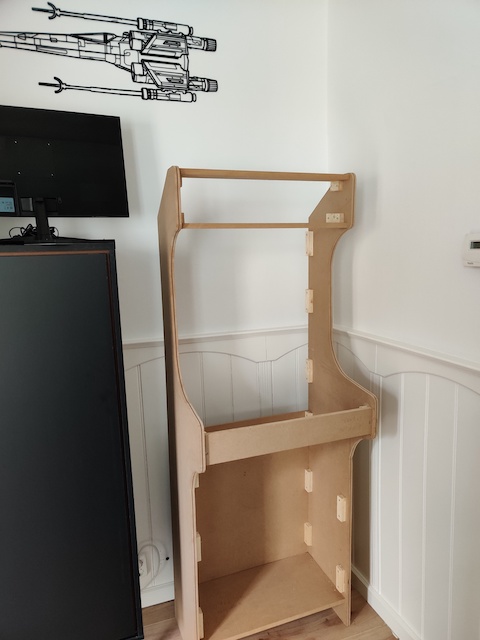
After painting it was time to bring the cabinet inside!
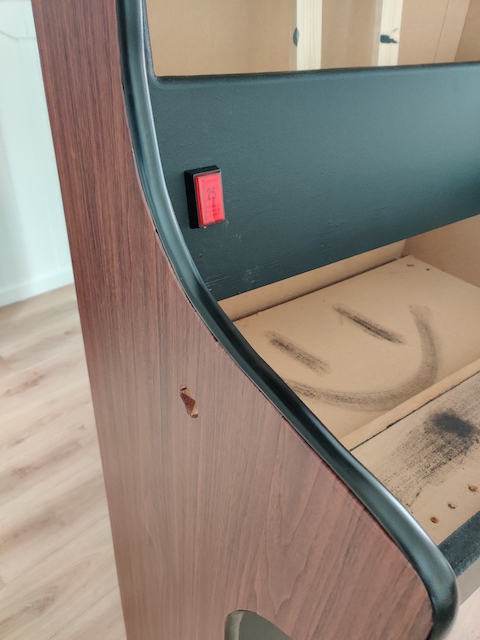
Finally I applied a dark wood vinyl and black T-molding:
That's it for this part, in the next part we will start with the electronics.