Building an Arcade Cabinet Part 1 - Planning
When I was 16 I built my first arcade cabinet, it wasn't a nice cabinet and way too big for my room at the time. I've always said: If I buy a house, I'll build an arcade cabinet for in my living room.
That time has now come, I've got a house, now just the arcade cabinet.

The first step is to make clear what I want. I did not want to go for a RetroPie install, instead I wanted to use a PC. A PC is a lot more powerful than a small Raspberry Pi and I had enough parts lying around to build one.
The Cabinet
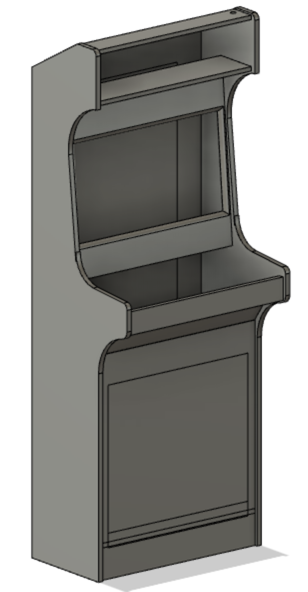
My goal was not to have a flashy cabinet in the living room, it should match the interior. I chose for a slim design. Using Fusion 360 I designed a CAD model. First of the side panel and then the rest of the cabinet piece by piece.
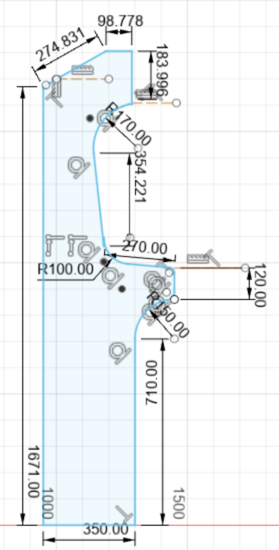 This is the side panel sketch that I created.
After that I went on creating the inner panels and eventually I ended up with a design I liked. 
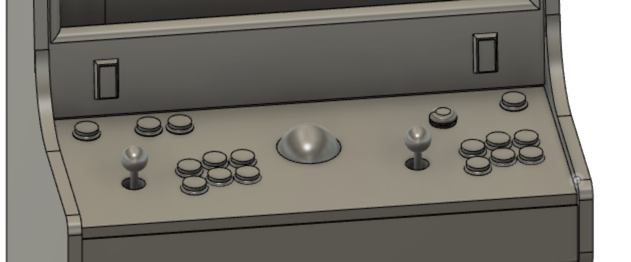
Control Panel
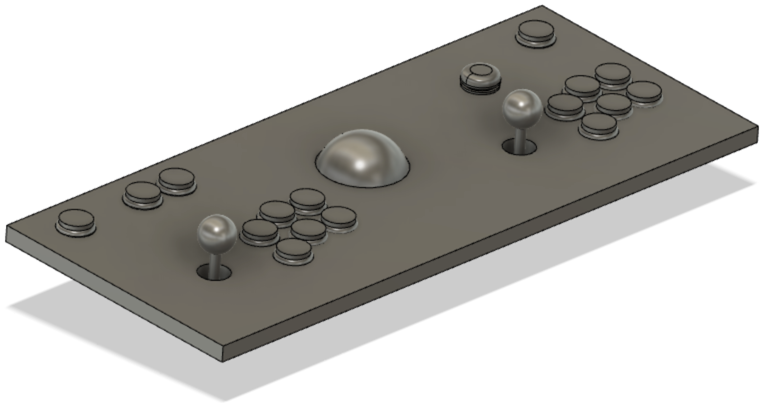
The goal here was a two player control panel with trackball and spinner. I found some joystick and button dimensions online and then added the trackball and spinner.
On top I have a start button for each player, a pause button and an exit button.
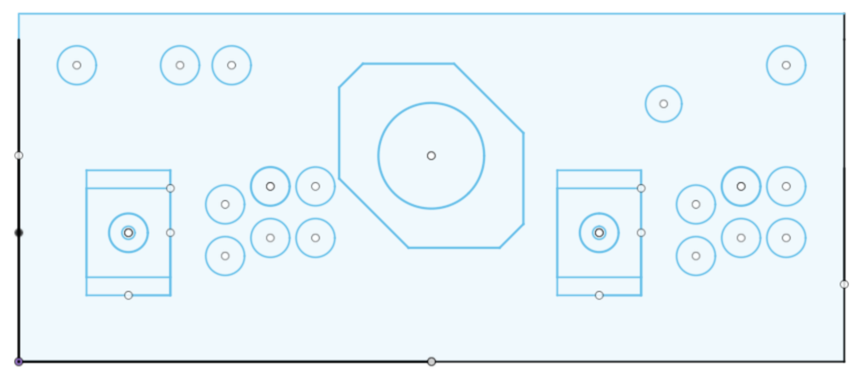
Eventually I ended up with this:
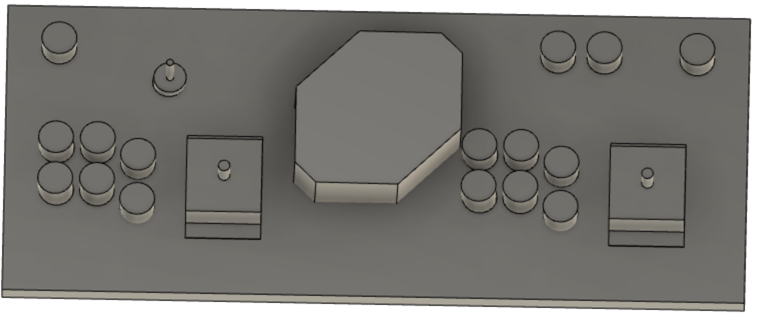
I've decided to put the two coin buttons on the bezel.
Under the control panel I am going to put some buttons for miscellaneous actions.